
VPN Installation & Connection Instructions
Install the VPN

Step 2
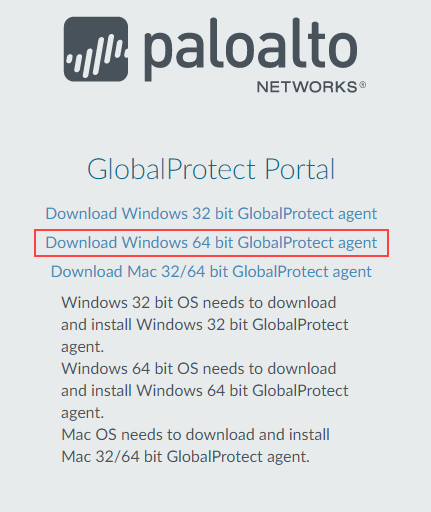
Click Download Windows 64-bit GlobalProtect agent for download to your computer.
Note: (SWOSU owned computers will be Windows 64 bit)
Step 3
Locate the downloaded file and double-click to open the GlobalProtect64 file
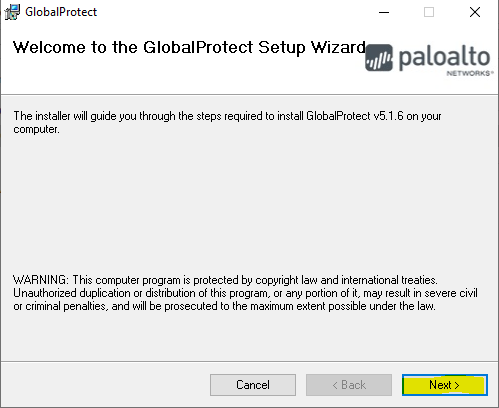
Step 4
Click Next
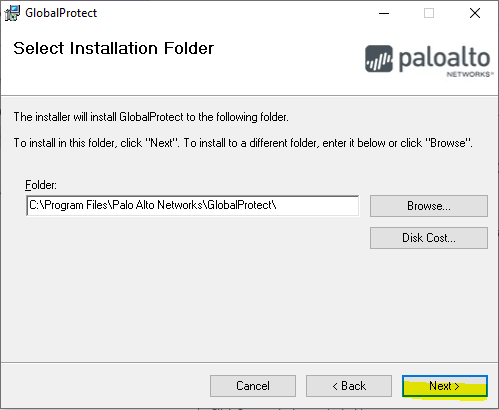
Step 5
Click Next
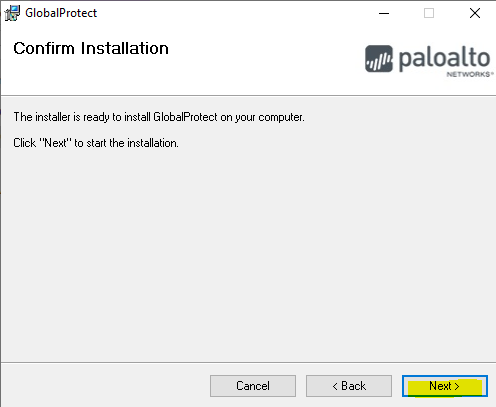
Step 6
Click Next
Step 7
The installation will start. If you receive a message “Do you want to allow this app to make changes to your device?”, click “YES”
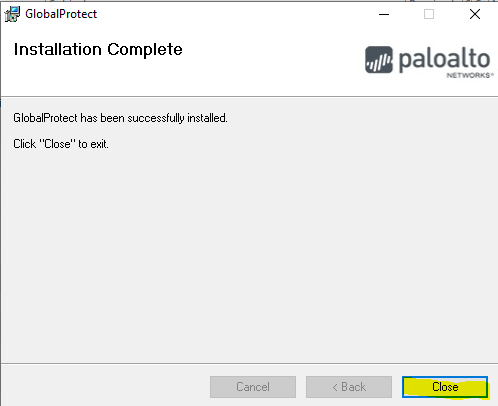
Step 8
Once the installation is complete, click “Close”
Connect to the VPN
Step 1
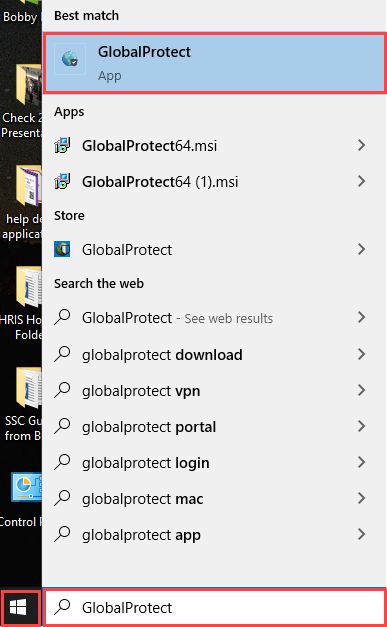
Open the GlobalProtect VPN application. This can be done in one of two ways:
Click the search bar on the taskbar located in the lower left corner of the desktop next to the Windows icon and type GlobalProtect. It should appear at the top of the search list.
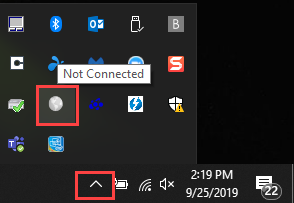
OR in the system tray area (lower-right of the Desktop), click the Show Hidden Icons arrow and click the GlobalProtect icon.
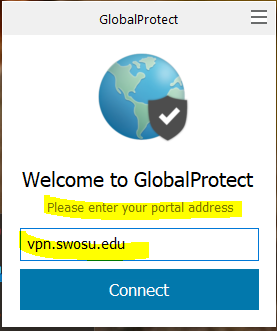
Step 2
Type vpn.swosu.edu as the portal address, click Connect.
Note: This is needed the first time you open GlobalProtect. This setting will automatically be saved for future connections.
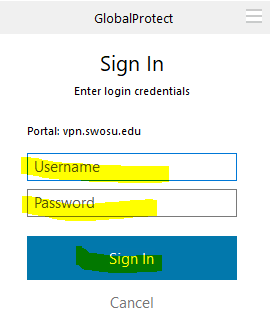
Step 3
Type your SSO (GoSWOSU) login credentials, click Sign In.
Once access to the VPN is no longer needed, access GlobalProtect and click Disconnect.